Sınıf Tanımı
Sınıf, programımızı geliştirirken ortak amaca hizmet eden değişkenler ve fonksiyonları bir araya topladığımız yapılardır. Nesne yönelimli programlamanın(OOP) en temel öğesi sınıflardır. Sınıfları kullanarak geliştirdiğimiz uygulama parçalara bölünür ve böylece karmaşıklığı azalır.
Sınıf Tanımlama
Bir sınıf tanımlamak için class anahtar sözcüğü kullanılır. Rectangle adında bir sınıf nasıl tanımlanır görelim.
1
2
3
4
// Syntax
class Rectangle {
    // Class area
}
Bir class, bir constructor, property’ler(değişkenler) ve metod’lar(fonksiyonlar) barındırır. Constructor, bir sınıftan nesne oluşturulurken ilk aşamada yapılacak işlemleri yapan ana metoddur.
1
2
3
4
5
class Rectangle {
    constructor() {

    }
}
Her metod gibi constructor metodu da parametre alabilir. Genelde constructor’a verilen parametreler, sınıftan nesne oluşturulurken içeri aktarılacak bilgileri içerir. Bu makale boyunca Rectangle adında bir sınıfı oluşturup içini dolduracağız. Böylece amacım tüm adımları tek tek ne amaçla ve nasıl kullanabileceğimizi göstermektir.
Öncelikle sınıfımızın property(değişken)lerini tanımlayalım ve constructor ile dışardan aldığımız değerleri bu property’lere atayalım.
1
2
3
4
5
6
class Rectangle {
    constructor(width, height) {
        this.width = width;
        this.height = height;
    }
}
Yukarıdaki örnekte kullandığımız this anahtar sözcüğü, sınıfın o anki nesnesini temsil eder.
Method Tanımlama
Metodlar, fonksiyonların sınıf içinde tanımlanmış halleridir. Bir sınıfın işlevselliğini, metodlarla artırabiliriz. Fonksiyonlardan tek farkı, function anahtar sözcüğünü kullanmamamız. Rectangle örneğimizden gidecek olursak, alan ve çevre hesabı yapan metodlar tanımlayabiliriz.
1
2
3
4
5
6
7
8
9
10
11
12
13
14
class Rectangle {
    constructor(width, height) {
        this.width = width;
        this.height = height;
    }

    area() {
        return this.width * this.height;
    }

    perimeter() {
        return (this.width + this.height) * 2;
    }
}
Sınıf içinde tanımlanan property(değişken) ve metodlara erişmek için nesneler kullanılır. Şimdiye kadar sınıf tanımından bahsederken sürekli nesnelerden bahsettik. Peki nedir bu nesne görelim.
Nesne Tanımlama
Nesneler, bir sınıftan oluşturulan değişkenlerdir. Sınıf kavramı, soyut bir kavram iken, nesne bu soyut kavramı somutlaştırır ve bir kimlik sahibi yapar. Bir sınıftan birden fazla nesne oluşturulabilir ve bir nesne tanımlamak için new anahtar kelimesi kullanılır. Yukarıda tanımladığımız sınıftan bir nesne türetelim.
let rect = new Rectangle(5,2); console.log(rect); // Output: Rectangle { width: 5, height: 2 }
Yukarıdaki örnekte genişliği(width) 5, yüksekliği(height) 2 olan bir dikdörtgen nesnesi tanımladık ve ekrana bastık. Bu nesnenin türetildiği sınıfa ait property ve metodlara erişmek için nokta(.) operatörü kullanılır. Türettiğimiz nesnenin genişliğine ve yüksekliğini ekrana basalım.
console.log(rect.width); // Output: 5 console.log(rect.height); // Output: 2
Aynı sınıftan birden fazla nesne tanımlayabiliriz.
let rect = new Rectangle(5,2); let square = new Rectangle(2,2); console.log(rect.width+”x”+rect.height); // Output: 5x2 console.log(square.width+”x”+square.height); // Output: 2x2
Böylece farklı dikdörtgen türlerini sadece bir sınıftan yeni nesneler türeterek elde edebiliriz. Oluşturduğumuz kare ve dikdörtgen nesnelerinin çevre ve alanlarını hesaplatıp ekrana bastıralım.
console.log(“Rect Area:”, rect.area()); // Output: Rect Area: 10 console.log(“Rect Perimeter:”, rect.perimeter()); // Output: Rect Perimeter: 14
console.log(“Square Area:”, square.area()); // Output: Square Area: 4 console.log(“Square Perimeter:”, square.perimeter()); // Output: Square Perimeter: 8
Nesneleri anladığımıza göre, sınıf tanımında kullandığımız this anahtar kelimesini yukarıdaki örnekler üzerinden biraz daha detaylandıralım. constructor, area ve perimeter metodlarının içinde kullandığımız this anahtar sözcüğü, tanımlanan nesneyi işaret eder. Yani square nesnesi için this = square, rect nesnesi için this = rect olacaktır.
Static Method ve Static Property
Sınıflar içinde, nesnelerden bağımsız ulaşabileceğimiz metod ve property’ler tanımlayabiliriz. Böylece bu tanımları tüm nesnelerde ortak olarak kullanabiliriz. Statik bir metod ya da property tanımlamak için, tanımın başında static anahtar kelimesini kullanmamız gerekir. Rectangle sınıfımıza sınıfın adını barındıran bir property ve sınıf adını dönen bir static method tanımlayalım.
1
2
3
4
5
6
7
8
9
10
11
12
13
14
15
16
17
18
19
class Rectangle {
    constructor(width, height) {
        this.width = width;
        this.height = height;
    }

    area() {
        return this.width * this.height;
    }

    perimeter() {
        return (this.width + this.height) * 2;
    }

    static className = "Rectangle";
    static getClassName(){
        return Rectangle.className;
    }
}
Örneğimizde normal tanımdan farklı bir durum dikkatinizi çekmiş olmalı. static bir property’e erişmek için this anahtar sözcüğü yerine sınıf ismi olan Rectangle ifadesini kullandık. this anahtar sözcüğünün bir nesneyi temsil ettiğini söylemiştik. Fakat static metodlar nesnelerden bağımsız oldukları için this anahtar kelimesini kullanamayız. getClassName() metoduna ve className property’ine sınıf dışında erişmek için yine sınıf ismi olan Rectangle kullanılmalıdır.
1
2
console.log("ClassName Property:", Rectangle.className); // Output: ClassName Property: Rectangle
console.log("ClassName Method:", Rectangle.getClassName()); // Output: ClassName Method: Rectangle
Eğer getClassName() metodunda nesneye tanımlı olan width ve height property’lerine erişmeye çalışırsak undefined(tanımsız) olarak görünürler. getClassName() metodumuzun aşağıdaki gibi olduğunu varsayarsak, return değeri undefinedxundefined olacaktır.
1
2
3
static getClassName(){
    return this.width+"x"+this.height;
}
Property Tanımlama
Bir sınıfa ait property’leri tanımlama işlemini constructor içinde this kullanarak yapmıştık. Ancak property’leri herhangi bir metod kullanmadan da direkt class scope‘unda public ya da private olarak tanımlayabiliriz.
Public Property Tanımlama
Public property, sınıf dışından direkt olarak kullanılabilen ve değiştirilebilen property’lerdir. Şimdiye kadar tanımladığımız property’leri public olarak tanımladık.
1
2
3
4
5
6
7
8
9
10
11
12
13
14
15
16
17
18
19
20
21
class Rectangle {
    width; // Public Property
    height = 5; // Public Property and Set default value
    constructor(width, height) {
        this.width = width;
        this.height = height;
    }

    area() {
        return this.width * this.height;
    }

    perimeter() {
        return (this.width + this.height) * 2;
    }

    static className = "Rectangle";
    static getClassName(){
        return Rectangle.className;
    }
}
Bir nesneye ait public property’lere, constructor dışında da direkt olarak değer atanabilir.
let rect = new Rectangle(5,2); console.log(“Rect Area:”, rect.area()); // Output: Rect Area: 10 console.log(“Rect Perimeter:”, rect.perimeter()); // Output: Rect Perimeter: 14 rect.height = 5; rect.width = 4; console.log(“Rect Area:”, rect.area()); // Output: Rect Area: 20 console.log(“Rect Perimeter:”, rect.perimeter()); // Output: Rect Perimeter: 18
Private Property Tanımlama
Private property, public property’nin aksine sınıf dışından direkt olarak kullanılamayan ve değiştirilemeyen property’lerdir. Private property tanımlanırken başına # eklenir. Rectangle sınıfımızın width ve height property’lerini private olarak güncelleyelim.
1
2
3
4
5
6
7
8
9
10
11
12
13
14
15
16
17
18
19
20
21
class Rectangle {
    #width; // Private Property
    #height = 5; // Private Property and Set default value
    constructor(width, height) {
        this.#width = width;
        this.#height = height;
    }

    area() {
        return this.#width * this.#height;
    }

    perimeter() {
        return (this.#width + this.#height) * 2;
    }

    static className = "Rectangle";
    static getClassName() {
        return Rectangle.className;
    }
}
Rectangle sınıfımızın yeni halinden nesneler türetip farkına bakalım.
1
2
3
4
5
6
7
let rect = new Rectangle(5, 2);
let square = new Rectangle(2, 2);

console.log(rect); // Output: Rectangle { }
console.log(square); // Output: Rectangle { }
console.log(rect.width + "x" + rect.height); // Output: undefinedxundefined
console.log(square.width + "x" + square.height); // Output: undefinedxundefined
Eğer nesne üzerinden sınıftaki tanıma göre erişmek istersek SyntaxError hatası alırız ve hata açıklamasında property’nin private olduğunu bu nedenle erişemeyeceğimizi söyler.
console.log(rect.#width + “x” + rect.#height); // Output: SyntaxError: Private field ‘#width’ must be declared in an enclosing class
Peki sınıf dışından bu private property’lere nasıl erişir ve değiştirebiliriz? Bunun için getter/setter metodları tanımlamalıyız.
Getter/Setter Metodları
Getter ve Setter metodları, private property’lerin değerlerini alma ve değiştirme konusunda kontrolün bizde olmasını sağlar. Rectangle sınıfına getter ve setter metodlarımızı ekleyelim.
1
2
3
4
5
6
7
8
9
10
11
12
13
14
15
16
17
18
19
20
21
22
23
24
25
26
27
28
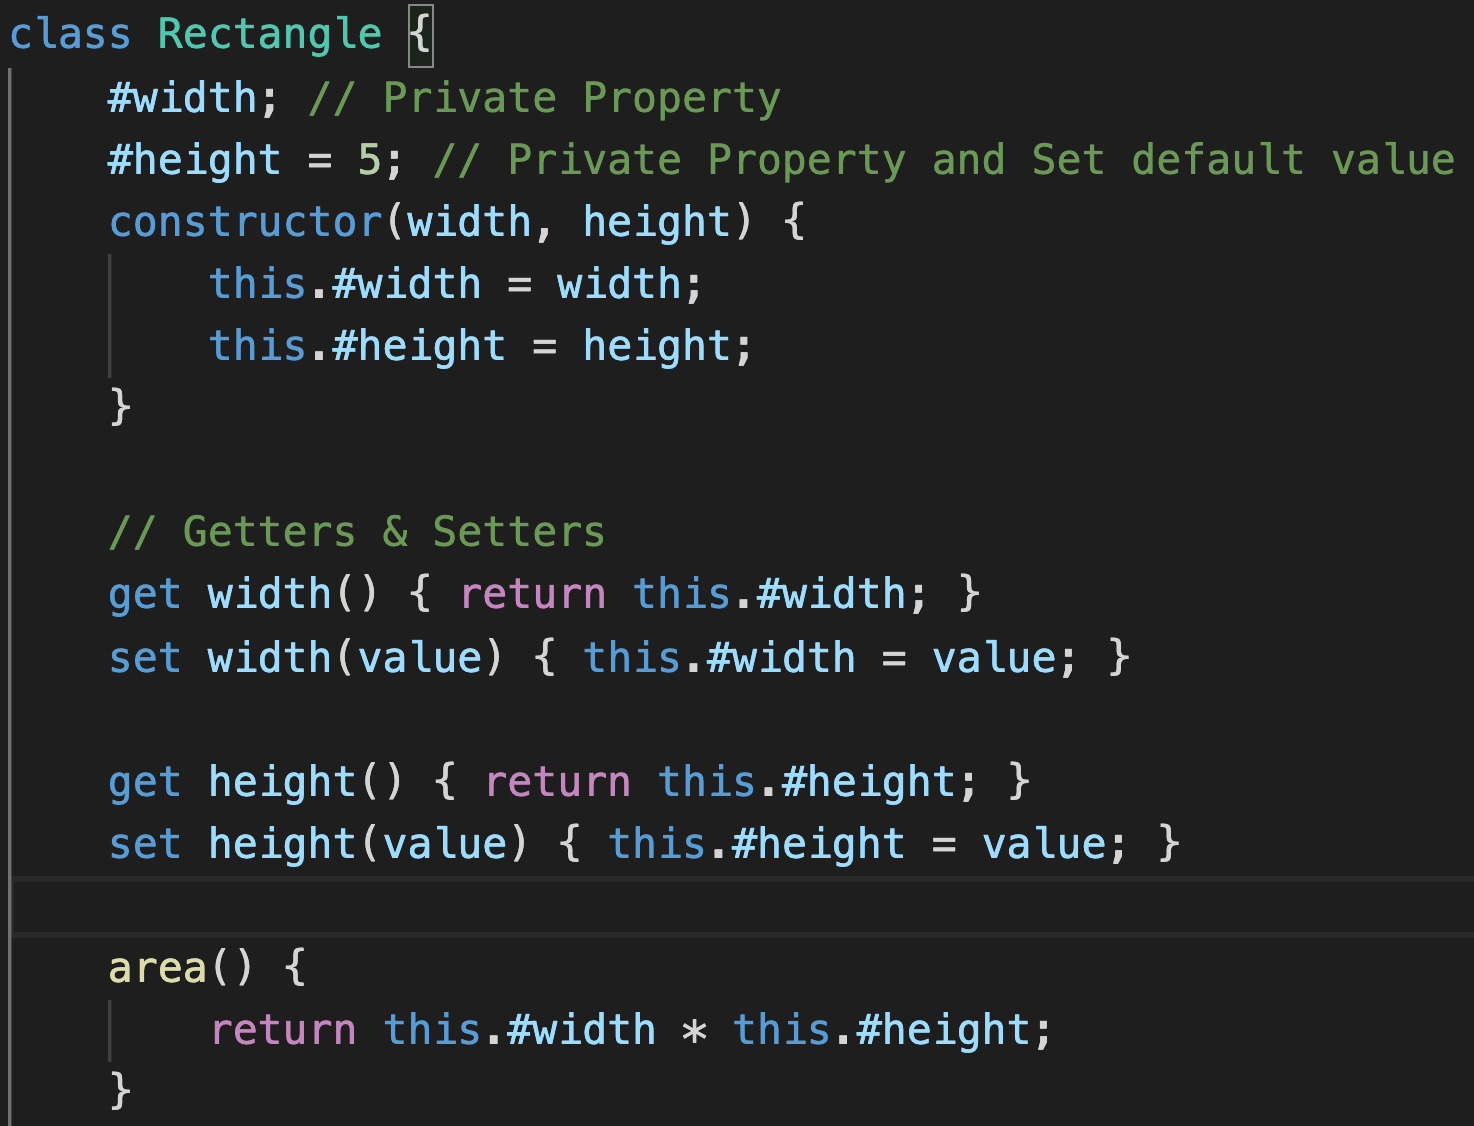
class Rectangle {
#width; // Private Property
#height = 5; // Private Property and Set default value
constructor(width, height) {
this.#width = width;
this.#height = height;
}
// Getters & Setters
get width() { return this.#width; }
set width(value) { this.#width = value; }
get height() { return this.#height; }
set height(value) { this.#height = value; }
area() {
return this.#width * this.#height;
}
perimeter() {
return (this.#width + this.#height) * 2;
}
static className = "Rectangle";
static getClassName() {
return Rectangle.className;
}
}
Private property’lere erişim için yaptığımız denemeyi tekrar yapalım ve property’lere artık erişilebilir olduğunu görelim. Aşağıdaki örnekte getter metodları kullanılarak width ve height değerlerine erişebiliyoruz.
1
2
3
4
5
6
7
let rect = new Rectangle(5, 2);
let square = new Rectangle(2, 2);

console.log(rect); // Output: Rectangle { }
console.log(square); // Output: Rectangle { }
console.log(rect.width + "x" + rect.height); // Output: 5x2
console.log(square.width + "x" + square.height); // Output: 2x2
Setter metodlarını kullanarak da değer atamasını yapabiliriz. Setter metodunu kullanmak, bir değişkene değer atamaktan farksızdır.
1
2
3
4
5
6
7
let rect = new Rectangle(5,2);
console.log("Rect Area:", rect.area()); // Output: Rect Area: 10
console.log("Rect Perimeter:", rect.perimeter()); // Output: Rect Perimeter: 14
rect.height = 5;
rect.width = 4;
console.log("Rect Area:", rect.area()); // Output: Rect Area: 20
console.log("Rect Perimeter:", rect.perimeter()); // Output: Rect Perimeter: 18
Getter ve Setter metodları ile değer atamalarını ve erişimlerin kontrolü tamamen bizde olur. Böylece hassas bilgiler içeren verilere dışarından erişilmesinin önüne geçebiliriz.
Böylece bir sınıf tanımlama ve nesne, property, constructor, method ve getter/setter kavramlarına değinmiş olduk. Artık kodlarımızı nesne yönelimli programlama yaklaşımıyla geliştirmenin ilk adımını attık. İlerleyen yazılarda OOP yaklaşımıyla ilgili detaylara bakacağız.